
Removing backgrounds of images in Inkscape
Table of Contents
Earlier this week, I was using Freesurfer to generate some nice brain cortex images to add them to a paper. My go-to program to create scientific figures is Inkscape, mainly because it is free, relatively easy to use, and there are lot of nice guides online. However, the problem with this kind of software is that sometimes, simple actions can actually only be done with workarounds or with unintuitive tools. This small blog post is a testament to one of those times.
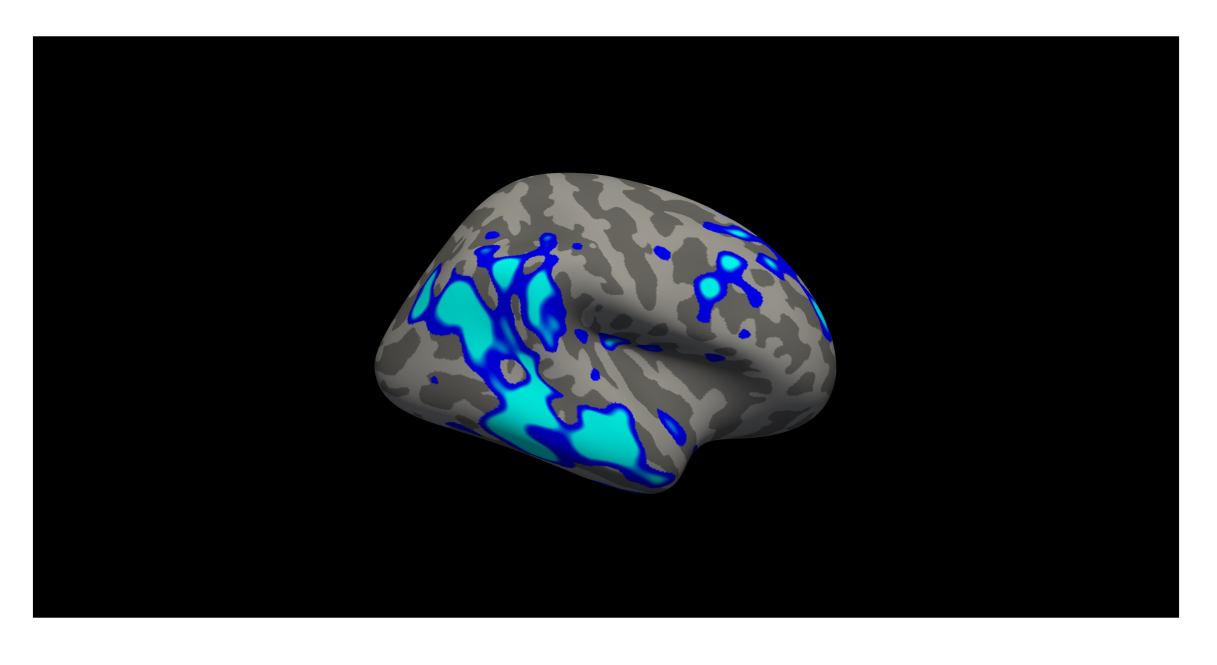
As I said, I was generating some nice brain images. But, when I imported them to Freesurfer, I had a problem: each brain image had a big, black background, and I needed to remove it. Not that big of a deal, I thought. Other software such as GIMP would have made the task trivial, but I did not have it installed in my computer, so I set on finding a way of doing it in Inkscape.
Half an hour and multiple Stack Overflow posts later, I had found a lot of different ways to do it, each more convoluted. The most simple way I found is:
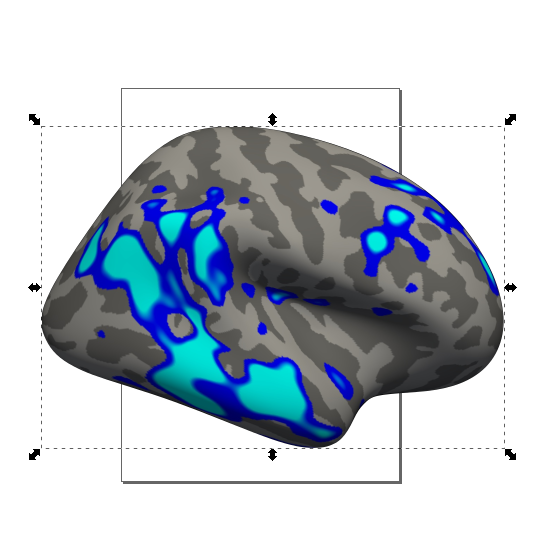
- Use Fill tool, with transparency, and a high enough treshold. After clicking on the image, you will get something like this (depending on the fill color):

It is similar to the magic wand tool in Photoshop, in this regard. If all the image is not selected, click other regions or use a higher threshold. This will generate an object with the filled area, separate from the original image.

- Select the original image and the new object and go to Object/Clip/Set. The result should be the image with no background.
This small episode shows two things: that it is really difficult to create software that can incorporate all features all users need at a given time, and that knowing how to search for the problems (and interpret the answers you find) is the most important thing in software. And research. And everything, really.